Connecting to Data
Download Foxglove as a desktop app, or use the web app in Chrome.
Sending messages
To communicate with Foxglove, your robot's messages must follow a specific format. Don't stress, it's simple!
First, download the JSON for Modern C++ library and paste the file into your PROS project's src directory. Then, create a .hpp file where you will define the structure of your messages. In it, define a Message struct and a method for converting it to a JSON.
#include <string>
#include "json.hpp"

using json = nlohmann::json;

struct Message {
    std::string topic;
    json payload;
};

inline void to_json(json& j, const Message& msg) {
    j = json{{"topic", msg.topic}, {"payload", msg.payload}};
}
Do the same for an example struct.
struct ExampleStruct {
    int x;
};

inline void to_json(json& j, const ExampleStruct& msg) {
    j = json{{"x", msg.x}};
}
Now you can send messages from your robot like this:
#include <string>
#include "main.h"
#include "json.hpp"
#include "logging.hpp"

// Other PROS methods...

void initialize() {
    // This message is used as a 'flag'. Every time you re-run your robot's code it will
    // start a new 'session' (i.e. clear old visualized data). Make sure you include this.
    std::cout << "foxglove" << std::endl;
}

void opcontrol() {
    int x = 0;
    while (true) {
        ExampleStruct payload{x};
        Message msg{"my_topic_name", payload};
        std::cout << static_cast<json>(msg) << std::flush;

        pros::delay(10);
        x++;
    }
}
For more examples on how to send messages, check out the demo repository.
Do not send payloads with different structures under the same topic name.
Receiving messages
Now that your robot can send messages, we need to set up the Foxglove-VEX bridge to listen for these messages and forward them to Foxglove.
First, make sure that you have python3 and pip installed. Then, clone the bridge's repository, enter the project folder, and install its dependencies.
git clone https://github.com/Daniel-Alp/foxglove-vex
cd foxglove-vex
pip install -r requirements.txt
Using a micro USB cable, connect your computer either to the controller (plug the radio into the brain as well) or connect it directly to the brain. To test the connection, turn on the brain, then on your computer enter the foxglove_vex_ws directory and run the server.py script.
cd foxglove_vex_ws
python3 server.py
You should see the following:
2024-07-01 22:37:47,822: [INFO] Starting server...
2024-07-01 22:37:47,822: [INFO] Server listening on ('0.0.0.0', 8765)
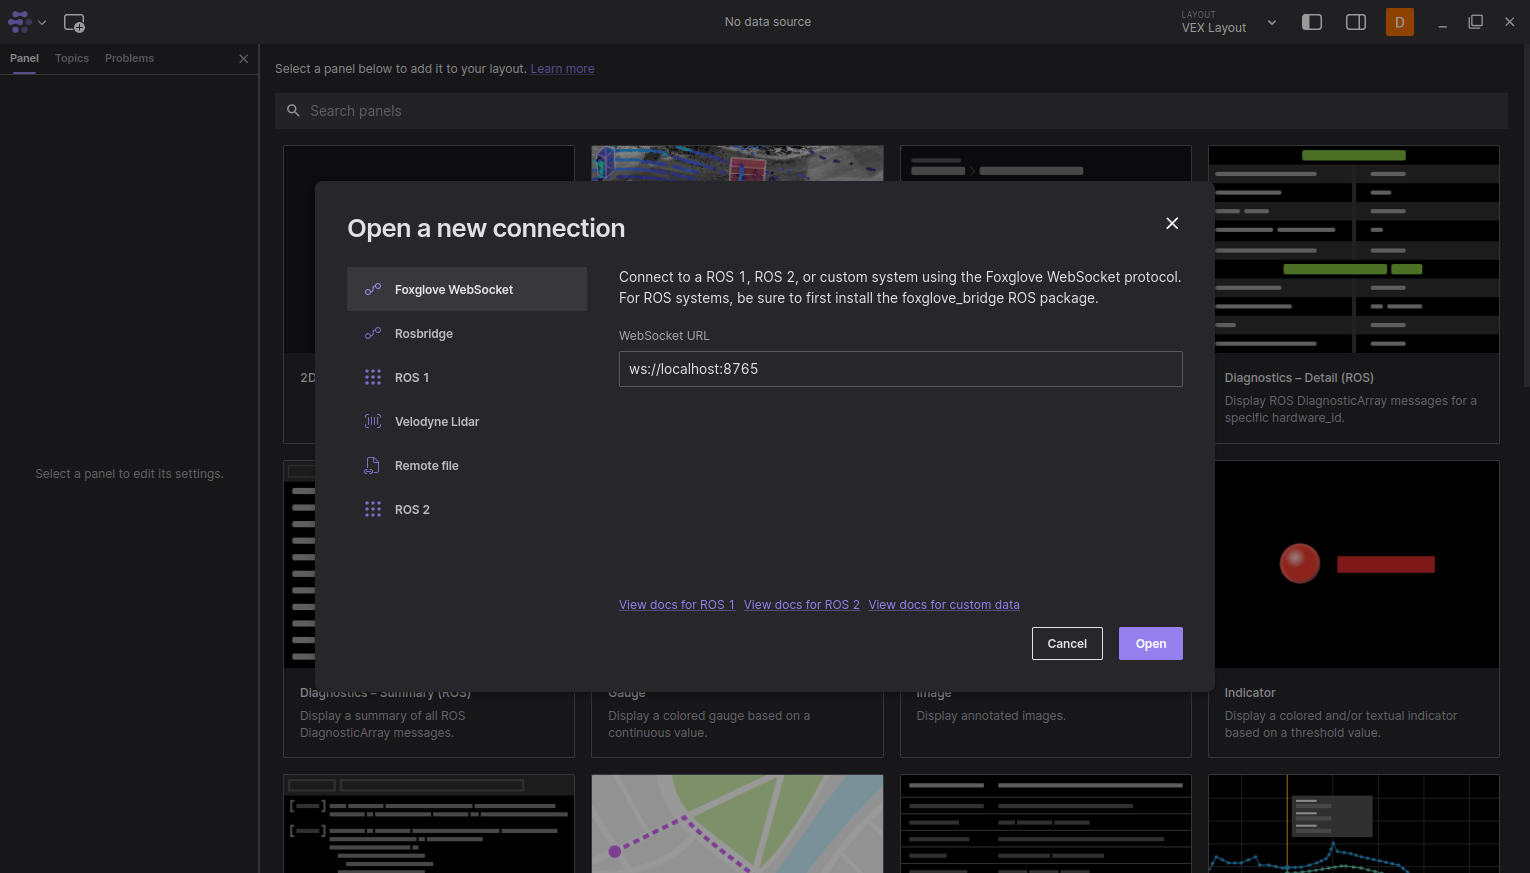
Launch Foxglove and open a websocket connection.
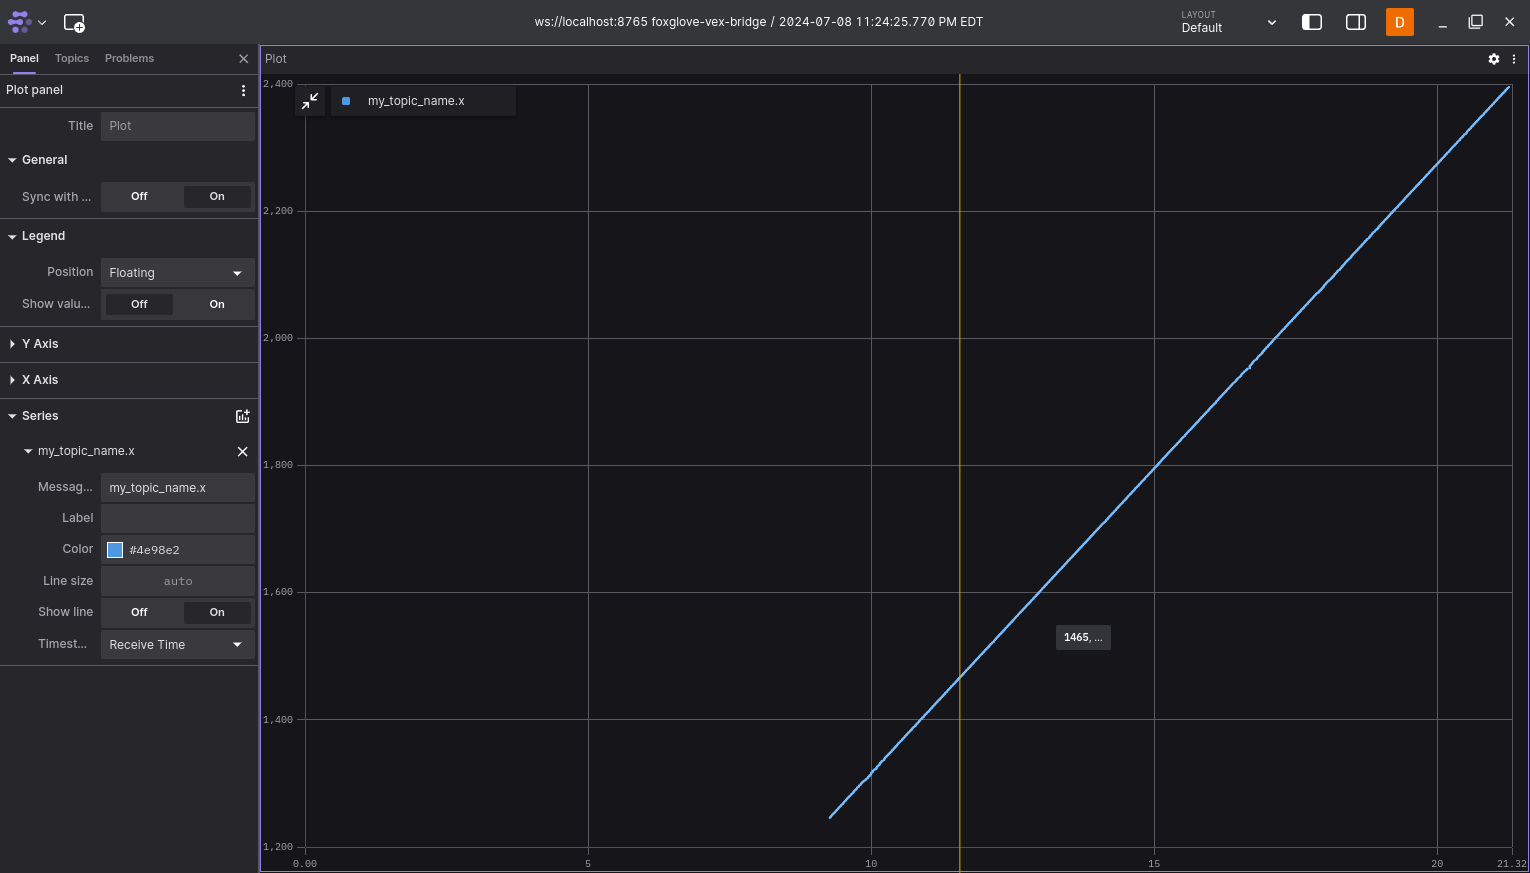
To start sending messages, run your robot's program. In Foxglove, add a plot panel to your layout and add a series with a message path of my_topic_name.x, you should see the x value being plotted over time.
To end the websocket connection, press ctrl + C (cmd + . on Mac) in the terminal. If your battery dies or the cable unplugs, the websocket connection will end. Starting a new connection by ending and re-running the python script will clear all past messages.
For more information on how to visualize your data read the next section of the docs.